Say Goodbye to Popcorn: A Step-by-Step Guide to Ceiling Removal

Why Removing Popcorn Ceilings Transforms Your Home
Wondering how to remove popcorn ceilings from your Charlotte home? You're not alone. Popular from the 1930s to the late 1980s, these bumpy textures (also called acoustic ceilings) now make homes look dated and collect dust, which is bad for allergies.
Quick Answer: How to Remove Popcorn Ceilings
- Test for asbestos (required for homes built before the mid-1980s)
- Choose your method:
- Wet scrape: Spray with water, scrape with a wide knife (2-4 hours per room)
- Dry sand: Use a dust-extraction system (faster, cleaner)
- Cover up: Install new drywall over the existing texture
- Replace: Remove and install new ceiling drywall
- Patch and repair any imperfections
- Prime and paint for a smooth, modern finish
Removing popcorn ceilings improves your home's appearance, increases property value, and eliminates a surface that traps dust and allergens. The project ranges from intermediate DIY work to professional-grade renovation depending on your chosen method, so choosing the right approach for your situation is crucial.

Before You Begin: Safety, Testing, and Preparation
This crucial first phase ensures your project is safe and clean.
Proper preparation is the difference between a smooth project and a disaster. Jumping into scraping without testing for asbestos or protecting your space can lead to health risks and a cleanup that takes longer than the project itself. A little planning now saves major headaches later.
The Critical Asbestos Test
If your home was built before the mid-1980s, your popcorn ceiling might contain asbestos. Testing for it is the most important step when learning how to remove popcorn ceilings.
Asbestos was common in popcorn ceiling texture for its fire resistance and soundproofing. When disturbed, its microscopic fibers become airborne. Breathing these fibers can cause serious health problems years later, including lung cancer and mesothelioma.
How do you test for asbestos? Purchase an asbestos test kit from a local hardware store. The kit includes everything needed to carefully collect a small sample of your ceiling material. Follow the instructions, mail your sample to the certified lab, and you'll have results in about a week. Waiting is frustrating, but it's necessary for safety.
What happens if the test comes back positive? You still have options. You can encapsulate the ceiling by covering it with new drywall (see Method 3) or hire a licensed asbestos abatement professional for safe removal. You absolutely cannot scrape or sand an asbestos-containing ceiling yourself due to the health risks.
Tools and Materials You'll Need
Gathering your supplies ahead of time will save you frustrating trips to the hardware store mid-project.
Your tool list depends on your chosen method, but here are the essentials: a wide drywall taping knife or ceiling scraper (6-inch minimum), a garden sprayer or spray bottle for the wet method, a sturdy ladder, plastic sheeting, painter's tape, a dust mask or respirator, and safety glasses.
For repairs, you'll need drywall joint compound, a putty knife, a sanding block, quality primer, and ceiling paint. For dry sanding, you'll need a drywall sander and a shop vacuum with HEPA filtration.
Also grab old clothes, gloves, a work light to spot imperfections, and a fan for ventilation. You will get messy.
Preparing Your Workspace for a Mess-Free Project
Proper room preparation is what separates the pros from the amateurs and makes cleanup manageable.
Start by removing everything possible from the room. Furniture, artwork, and decorations should all be moved out. For larger pieces that can't be moved, push them to the center and wrap them completely in plastic sheeting.
Next, create your protective barrier. Cover the entire floor with heavy-duty drop cloths or plastic sheeting, overlapping and taping down the seams. Then, tape plastic sheeting from the ceiling down to the floor protection, creating a protective "tent" around the room.
Turn off your HVAC system to prevent dust from circulating throughout your house. More importantly, turn off electricity to ceiling fixtures at the circuit breaker. Remove light fixtures and fans, then cap any exposed wires with wire nuts.
Set up proper ventilation by opening windows and placing a box fan in one window, blowing air outward. This creates negative pressure that pulls dust out of the room.
The goal is a contained workspace. Proper setup takes time but makes cleanup much faster.
How to Remove Popcorn Ceilings: A Guide to the Best Methods
With safety and prep covered, let's explore the methods for removing popcorn texture. Choosing the right one depends on your ceiling's condition, budget, DIY comfort level, and whether asbestos is present.
Method 1: The Wet Scrape: How to Remove Popcorn with Water and a Scraper
This is the classic, inexpensive DIY approach. It's popular because it uses simple tools, but it's messy and not always easy.
Here's how the wet scrape method works:
Fill your garden sprayer with warm water and lightly mist a small section of the ceiling (about 3x3 feet). You want to soften the texture, not saturate the drywall.
Wait 10-15 minutes for the water to absorb. The texture will darken and soften.
Now for the scraping technique. Hold your wide drywall knife at a shallow angle (15-20 degrees) and gently push the softened popcorn away. Let the wet, clumpy debris fall onto your drop cloths. Attaching a plastic bag to the scraper can help catch the mess.
Working in small sections is crucial. The texture will dry out if you spray too large an area at once, making scraping difficult.
This method is difficult on painted popcorn. Paint acts as a barrier, preventing water from softening the texture. You'll be left scraping tiny, stubborn chunks.
The good news about wet scraping: It's inexpensive and uses simple tools.
The not-so-good news: This method is extremely messy, time-consuming (2-4 hours per room), and there's a risk of gouging your drywall, which creates more repair work.
Method 2: Dry Sanding with a Dust-Extraction System
This modern, professional approach uses a drywall sander connected to a shop vacuum with powerful suction.
Here's the process: After protecting your room, connect your electric drywall sander to a shop vacuum with a HEPA filter. This crucial attachment captures dust at the source, making it a dustless sanding method.
Start with coarser sandpaper (60-80 grit) to remove the bulk of the texture. Keep the sanding disc flat and moving to avoid creating divots. Once the popcorn is mostly gone, switch to a finer grit (120-150) to smooth the surface.
The pros: This method is faster (about one hour per room), cleaner with proper dust extraction, and leaves a smoother finish that needs less patching. There's also no risk of water damage.
The cons: It requires expensive, specialized equipment like a quality drywall sander and a powerful shop vacuum with HEPA filtration. It's also physically demanding, especially with high or vaulted ceilings.
For the ultimate in dust-free sanding, systems like a professional dust-extraction sanding system can make this process incredibly clean and efficient.
Method 3: Covering Up with New Drywall or Panels
Sometimes, covering the popcorn ceiling is the smartest approach. This encapsulation method is ideal for asbestos-positive ceilings, as it doesn't disturb the hazardous material.
Installing 1/4-inch drywall is the most common approach. Locate your ceiling joists with a stud finder. Many professionals install thin furring strips perpendicular to the joists first to create a flatter surface.
Cut 1/4-inch drywall sheets to fit and screw them securely into the joists. Finish the seams with joint tape and compound, sand smooth, then prime and paint.
Using beadboard or other panels is a decorative alternative that can add character while hiding the texture.
The advantages: You avoid the removal mess, safely contain asbestos, and can hide existing damage. It can be faster than scraping and repairing a heavily damaged ceiling.
The downsides: It reduces ceiling height, has higher material costs than scraping, and requires solid drywall finishing skills for smooth seams.
Method 4: Complete Ceiling Replacement
This is the most disruptive option, best for ceilings that are too damaged to repair. Sometimes, starting over is the smartest choice.
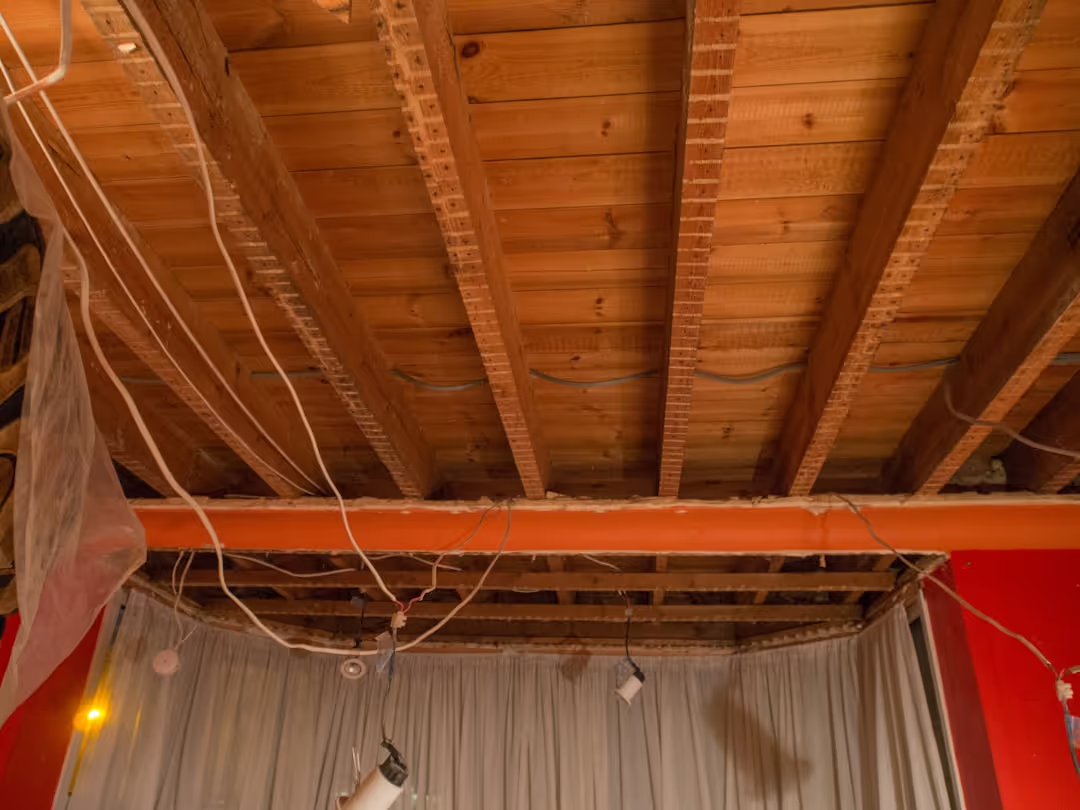
Full demolition means removing the existing drywall entirely, exposing the ceiling joists. After protecting the room, you'll cut and remove the old drywall in sections.
This approach is perfect for damaged ceilings with extensive water damage or structural issues. It also allows access to wiring and plumbing for upgrades like recessed lighting.
Installing new drywall sheets gives you a completely fresh start with a perfectly smooth surface, but it's a job that benefits from an extra pair of hands.
The benefits include a brand new ceiling and the opportunity to upgrade utilities. The drawbacks are significant: it's the most disruptive and wasteful option, has the highest cost, and requires advanced DIY skills or professional help.
Comparing Your Options
Wet scraping works best for unpainted popcorn on a tight budget, but prepare for a messy, time-consuming project. Dry sanding with dust extraction offers speed and cleanliness but requires investing in or renting specialized equipment. Covering up is ideal for asbestos-positive ceilings or when you want to avoid the removal mess entirely, though it costs more and slightly lowers your ceiling height. Complete replacement makes sense only for severely damaged ceilings or when you need access above for other projects.
The method you choose for how to remove popcorn ceilings should match your specific situation, skill level, and patience for mess and disruption. Each approach can give you beautiful results when done properly.
Post-Removal Steps: How to Repair and Paint Your New Ceiling
Finishing your ceiling correctly is key to a professional-looking result.
With the popcorn texture gone, it's time for the final phase: finishing. These steps will turn your scraped ceiling into a smooth, professional-looking surface. This is the most satisfying part of the project, where you'll see the real change.
Patching and Repairing Imperfections
Popcorn ceilings often hide imperfections in the drywall underneath. Once the texture is gone, you'll likely find gouges, scrapes, or nail pops that need attention.
Start with a thorough inspection. Use a bright work light held at an angle to your ceiling to reveal every imperfection. What looks fine in normal light may be obvious after painting.
Repairing gouges and scrapes from the removal process is common. Deeper marks from scraping need to be filled and smoothed.
Fixing nail pops is another frequent repair. Gently tap the nail heads back in, or drive them slightly below the surface and add a new drywall screw nearby for a stronger hold.
Applying joint compound is the key to a smooth finish. Using a putty knife, apply thin coats over all imperfections, feathering the edges to blend the repair. Thick coats create more work.
Let each coat dry completely before sanding for a smooth surface. Use fine-grit sandpaper (180-220 grit) and work gently. You may need two or three coats for a perfectly smooth surface. Patience here is key to a great final paint job.
After sanding, wipe the entire ceiling with a slightly damp cloth to remove all dust before priming.
Priming and Painting for a Flawless Finish
This is the rewarding home stretch where your hard work pays off.
The importance of primer cannot be overstated. Don't skip this step; it's essential for a professional finish. Primer's most important job is sealing new joint compound. New joint compound is very porous and will absorb paint unevenly, resulting in a blotchy finish if not primed.
Primer also creates a uniform base for your paint, ensuring consistent color and sheen. A good stain-blocking primer will also prevent any old water stains from bleeding through your new paint.
For choosing ceiling paint, a flat finish is recommended. Flat paint helps hide minor imperfections and doesn't create glare. White or off-white are classic choices that make rooms feel brighter and more spacious.
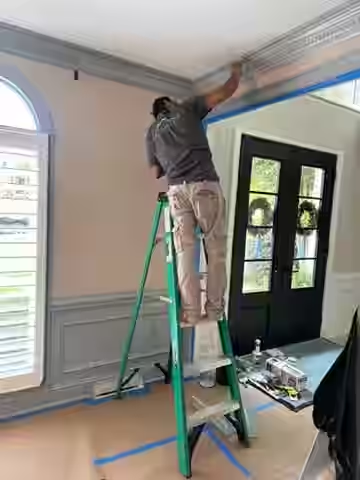
Application techniques are important for a professional look. Start by "cutting in" around the edges with a brush, painting the perimeter where the ceiling meets the walls. Clean lines make a huge difference.
For the main ceiling area, use a roller with a 1/2-inch to 3/4-inch nap. Work in manageable sections, overlapping your strokes to avoid roller marks. Plan on applying two coats of paint for a rich, even finish.
If you're inspired to tackle more painting projects, the licensed and insured experts at GW Painting Co. offer comprehensive Interior Residential Painting services. We also specialize in Custom Interior Painting Trim & Molding to achieve a cohesive look.
Frequently Asked Questions about Popcorn Ceiling Removal
Quick answers to the most common questions about this project.
Homeowners in Charlotte often ask us about how to remove popcorn ceilings. It's a big project with a lot to consider. Here are answers to the most common questions.
How long does it take to remove popcorn ceilings?
The timeline depends on whether you DIY or hire a professional.
For the DIY route, plan on 2-4 hours per room for scraping alone. This doesn't include prep, patching, drying, priming, and painting. A single room can easily become a multi-day or week-long project, especially if you're only working on weekends.
When you hire professionals like our team at GW Painting Co., we typically complete most projects in 1-3 days total, including all steps from removal to final paint. Our experience and equipment allow us to work efficiently, so you can get your space back quickly.
The project scope also affects the timeline; a small bedroom is much quicker than an entire main floor.
What makes popcorn ceiling removal more difficult?
These factors can make the project more challenging:
Painted popcorn ceilings are a major hurdle. Paint creates a water-resistant barrier, preventing the wet scrape method from working. This requires dry scraping or professional-grade sanding equipment.
High or vaulted ceilings add physical difficulty and safety concerns. Working on high ceilings is more tiring and requires scaffolding, increasing the difficulty and risk.
Presence of asbestos changes everything. If your test is positive, DIY removal is not an option. You must hire certified professionals or use the encapsulation method.
Sometimes, the original drywall underneath has issues like uneven seams or poor repairs, which means more extensive patching work.
When should I hire a professional for popcorn ceiling removal?
While DIY is an option, hiring a professional is often the smart move for safety, sanity, and a better final result.
If asbestos is present, you must hire a professional. Certified professionals have the training and equipment to handle hazardous materials safely, protecting your family's health.
Large-scale projects involving multiple rooms can be overwhelming for a DIYer. Our crews have the manpower to tackle big projects efficiently.
Time constraints are another big factor. If you have a tight deadline, professionals can complete the job in days, not weeks.
Complex situations like painted popcorn or extensive damage often require specialized tools that make professional service more cost-effective than a one-time rental or purchase.
For a guaranteed flawless finish, professional experience makes a real difference. We achieve a perfectly smooth surface that's tricky for DIYers to master.
At GW Painting Co., we're licensed and insured with clean, respectful crews. We serve Charlotte and surrounding areas with a satisfaction guarantee. For more answers, check out our FAQs page.
Conclusion: Enjoy Your Modern, Updated Space
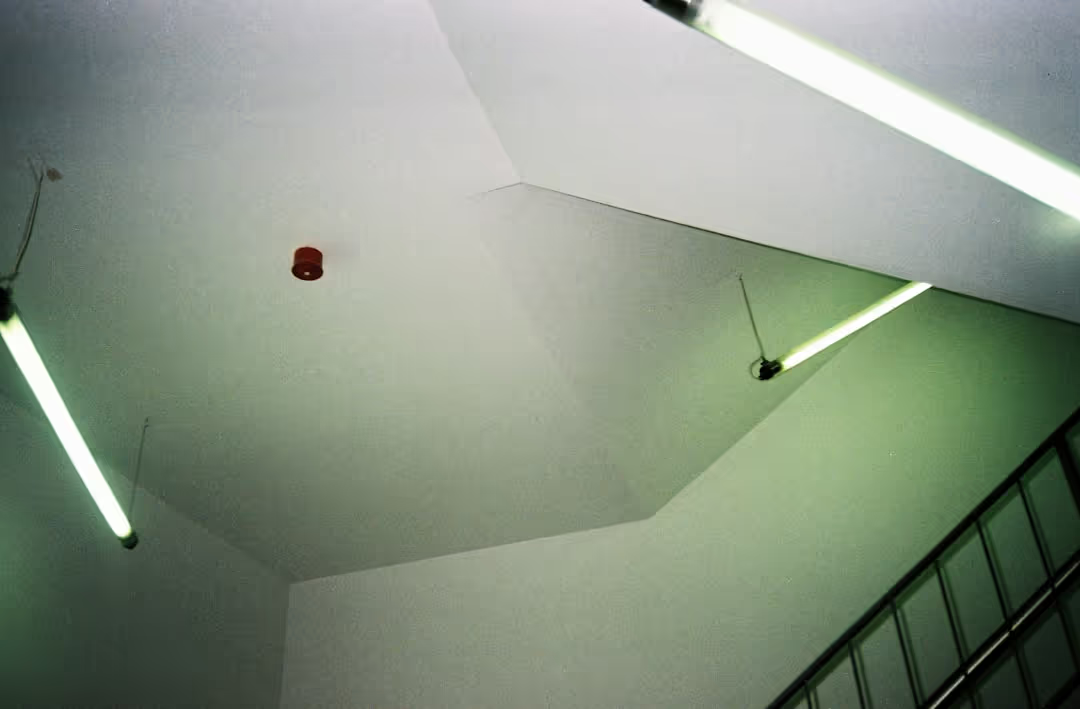
Learning how to remove popcorn ceilings is a project that delivers an instant wow factor. Once you see the smooth, clean lines overhead, you'll wonder why you waited.
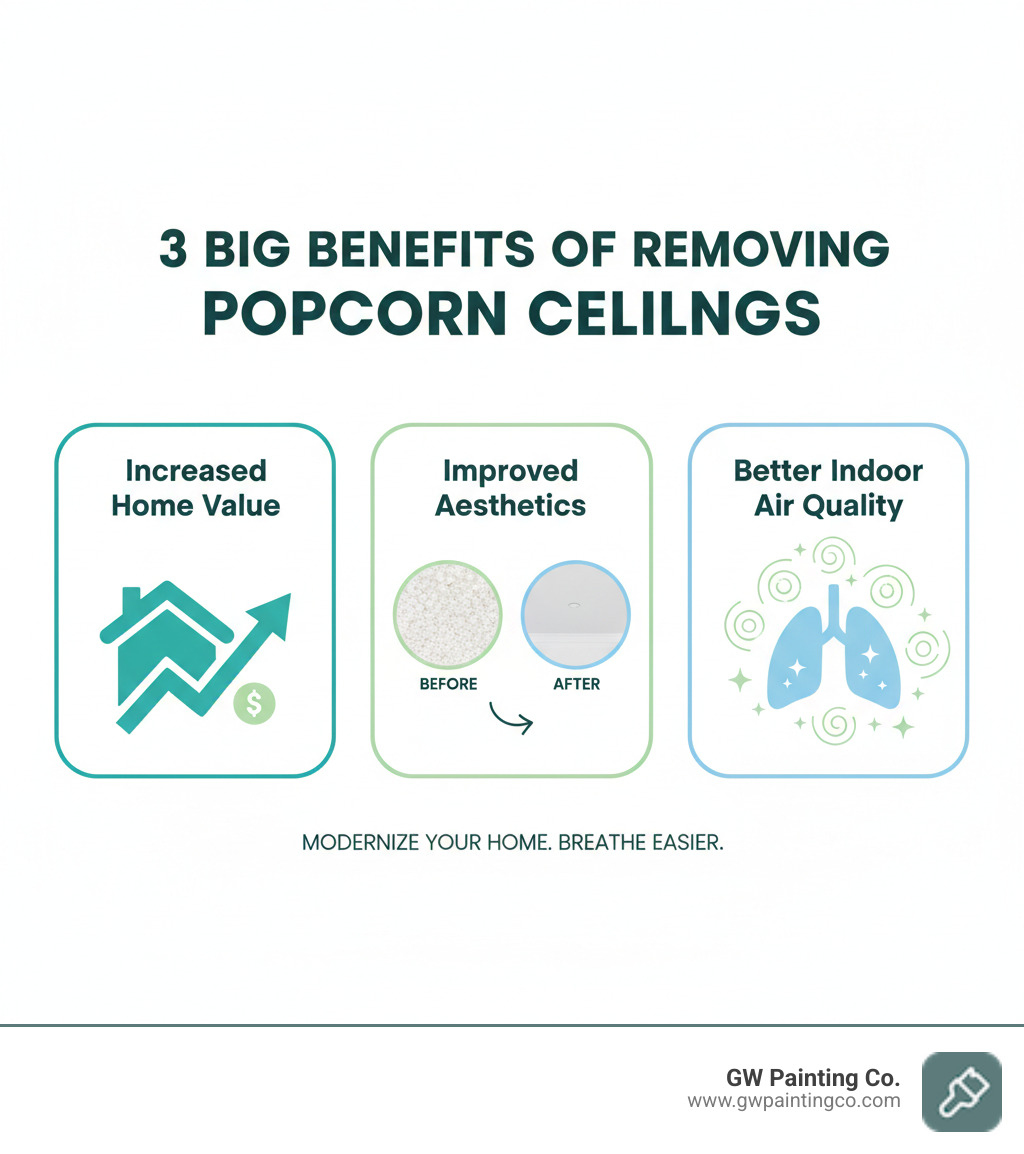
The benefits go beyond looks: your home's value increases, air quality improves, and the space feels more modern. Whichever method you chose, you've made a smart investment in your home.
We know this project can be overwhelming. It's messy work that requires patience, attention to detail, and skill to get just right. The preparation, removal, repair, and painting all take time.
That's where we come in. For a perfect, hassle-free finish, the licensed and insured experts at GW Painting Co. deliver exceptional quality and clean, respectful service. We've helped countless Charlotte homeowners say goodbye to their popcorn ceilings, handling everything from prep to the final coat of paint. Our crews know how to achieve that flawless, smooth finish that makes all the difference.
Ready to transform your home's interior? Skip the stress and mess. Learn more about our Interior Residential Painting services and let us help you create the modern, updated space you've been dreaming of. Your ceilings will thank you!

.avif)
.avif)


